What’s the most elegant way to manage configuration in a React Native app? Well, there may be many legit approaches but here’s one I like.
Doppler is a “SecretOps” platform. It enables developers to keep their app configuration secure across devices, environments and team members. If you’ve worked with .env files you know how cumbersome it is to manage them. Doppler promises to keep them away for good.
This is a step-by-step tutorial on how to get started with Doppler and hook it up to a React Native app.
Accessing environment variables in your app
1. Create a brand new Expo app
First, we head over to our terminal and create a basic React Native app using Expo.
2. Install a Babel plugin that inlines variables during build time
We want to be able to access process.env variables in our app’s code. To do that, we’ll need to install a Babel plugin that replaces all references of process.env.VARNAME with the desired value.
3. Add the plugin to babel.config.js
By doing so we activate the plugin. Once it’s in, we should append the --clear flag when running expo start so that the cache gets cleared and the latest environment variables are inlined in our source code.
4. Modify the package.json scripts to set a sample variable
This is something that we won’t need once we start using Doppler, but it’s a good way to test if the Babel plugin is working. We add a TEST variable and set its value to OK by simply modifying the package.json scripts.
5. Add a new line to App.js to test the Babel plugin
Now let’s display the variable’s value somewhere in the UI.
6. Run the app to confirm that the plugin works
If you’ve followed the steps correctly, you should be able to see the following text displayed in your simulator or device once you run one of the scripts available in package.json.

All good? Awesome! 👏🏻 Now we’re ready to start working with Doppler.
Creating a Doppler configuration
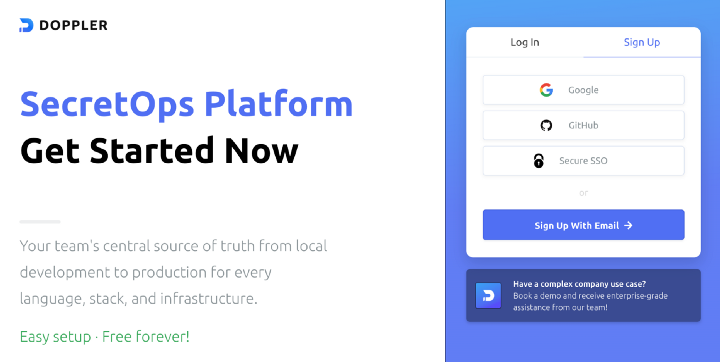
1. Go to https://www.doppler.com/ and sign up
Doppler is free and offers an easy setup.
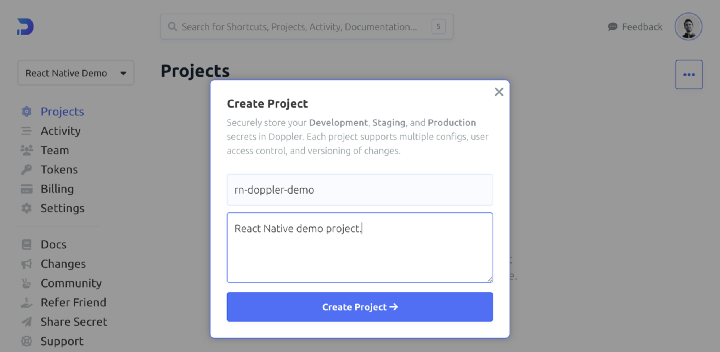
2. Create a new Doppler project
If you’re using Doppler for the first time you’ll probably get a sample project configured for you. But go ahead and create a brand new project. I called mine rn-doppler-demo.
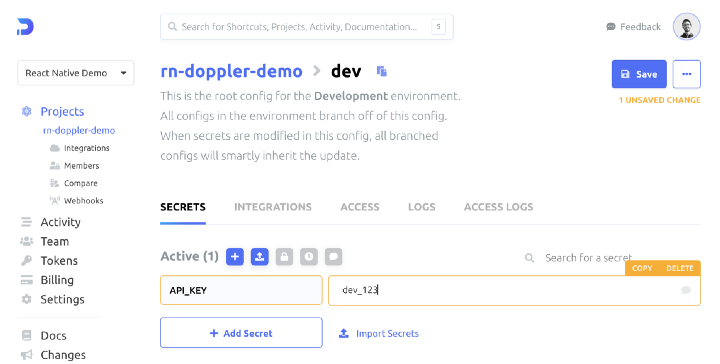
3. Add a secret key for the development environment
Once you create a project you get three environments pre-configured: development, staging and production. Head over to the dev environment and add a new variable (Doppler refers to them as “secrets”). Let’s name it API_KEY and give it a value of dev_123.
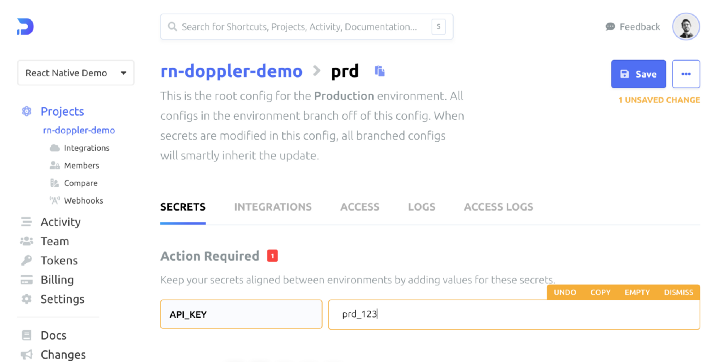
4. Add a value for the production environment
Now move on to the prd environment and set the API_KEY variable to prd_123. API keys are usually much longer strings but this is sufficient for the purposes of the tutorial.
With that, we’re done working with Doppler’s UI. You see? The setup was extremely easy. 😊 Let’s bring both worlds together and integrate Doppler in our React Native project.
Hooking up Doppler to your app
1. Install the Doppler CLI
Here are full instructions on how to install the Doppler CLI. The command below works on macOS, but check the link for complete information and specific guidelines for your operating system.
2. Login using the Doppler CLI
Once the CLI is installed we’ll need to login so that Doppler can pull the desired configuration from their servers.
3. Modify the package.json scripts
This is where the magic happens. 🪄🎩 By simply adding doppler run --config dev -- or doppler run --config prd -- to your package.json scripts, the corresponding configuration gets injected in your React Native app. Pretty neat, huh? Bye bye .env files! 👋🏼
4. Add a new line to App.js to test Doppler
Now, of course, we’d like to prove that magic does exist. Let’s display the API_KEY secret in our app’s UI.
5. Run the app to test the development config
Ready? If we execute npm run start:dev we see the value that we set in the configuration dedicated to the development environment.

6. Run the app to test the production config
And! If we execute npm run start:prd we see the prd value.

Works?? Awesome!! Now relax a bit, tap yourself on the back and give some space to celebrate!! 🎉🎊🙌🏼
Alright, that’s enough! 😂 Now that you’re done celebrating, know that this is just the tip of the iceberg! Doppler can do so much more. Of course, if that’s what you need. For example, if you want to build your app in the cloud using EAS (Expo Application Services), it’s pretty simple to link Doppler to EAS. Or, if you want to integrate with GitHub Actions, there is an official guide that explains how to expose Doppler secrets in your automated workflows.


.svg)